Ceramic Coating Before and After:
What to Realistically Expect
The before-and-after photos of ceramic coating look dramatic online. Some of that is accurate. Some of it is marketing. Here's an honest breakdown of what actually changes at each stage of the process — so you know exactly what you're getting before you book.
Before the Coating: What the Process Actually Starts With
Most ceramic coating jobs don't start with a freshly-washed showroom car. They start with a vehicle that has months or years of road film, water spots, swirl marks, iron contamination, and oxidized clear coat. The coating process doesn't hide these issues — it locks them in permanently if they aren't fixed first. This is why prep is not optional.
What the vehicle typically looks like when it arrives:
- Swirl marks from automatic car washes or improper washing — visible as spider-web patterns in direct sunlight
- Water spot etching from hard water deposits that have sat too long
- Iron contamination embedded in the clear coat (invisible, but you can feel it as roughness)
- Fine scratches and marring on horizontal panels from normal use
- Light oxidation on older vehicles — chalky or flat areas, especially on the roof and hood
The Transformation — Stage by Stage
Decontamination Wash
After a pH-neutral hand wash and iron decontamination treatment, the paint looks cleaner but mostly the same to the eye. The real change here is at the microscopic level — bonded contamination is gone, the surface is chemically neutral, and it's ready for the next steps. This stage changes how the paint feels, not how it looks.
Clay Bar
After clay bar treatment, the paint goes from having a slightly rough texture to feeling glass-smooth. You can feel this difference by running a clean finger across the surface — before clay it feels like fine-grit sandpaper; after it feels like polished glass. This change is tactile, not visual.
Paint Correction
This is where the most dramatic visible transformation happens. Swirl marks disappear. Scratches below the clear coat level are removed. Oxidized areas come back to life. Water spot etching is polished out. The difference between before and after paint correction under focused lighting is stark — paint that looked cloudy and marred becomes optically clear and reflective. This stage is what produces the dramatic transformation in before-and-after photos, not the coating itself.
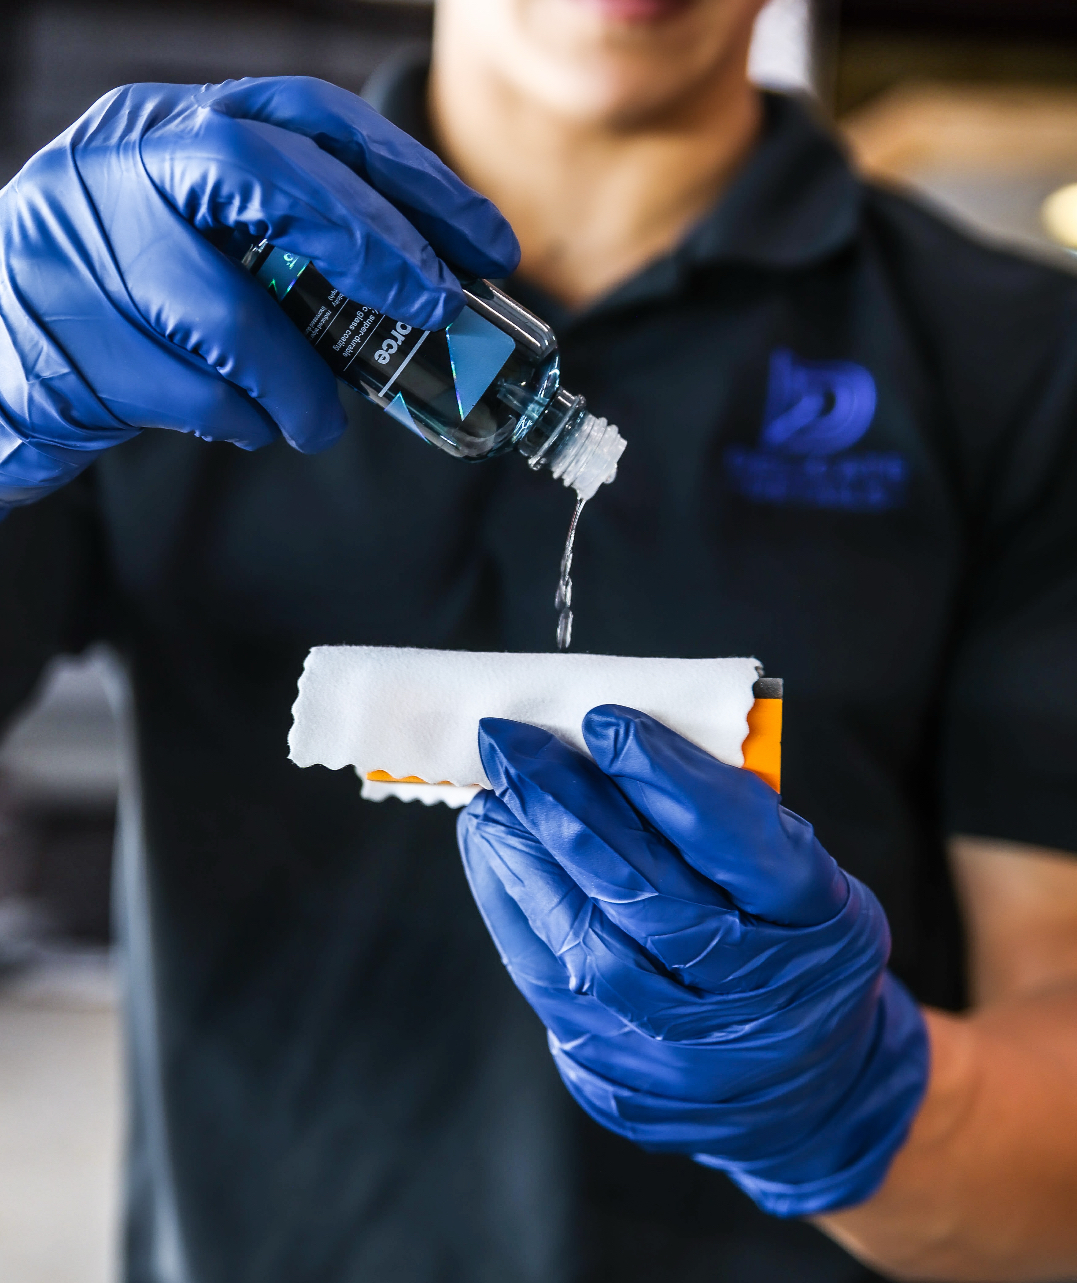
Ceramic Coating Application
After an IPA wipe-down to remove any polish residue, the ceramic coating is applied panel by panel with a suede applicator. As it flashes (begins to cure on the surface), you'll see a rainbow iridescence briefly appear — this is the coating activating. It's buffed off with clean microfibers before it fully bonds. When complete, the coating adds a noticeably deeper gloss and amplifies the reflectiveness of the corrected paint. It's subtle compared to the correction step — but it's real and visible.
Curing (First 7 Days)
The coating continues to harden for up to 7 days after application. During this window, no water contact, no washing, and no exposure to harsh conditions. The full 9H hardness that makes ceramic coating durable develops during this cure period — the vehicle needs to be kept dry and sheltered for those first days.
What the Vehicle Looks Like After
When the vehicle is complete, the changes you'll actually notice:
- Depth and clarity: Paint looks deeper and more dimensional. This is most noticeable on dark colors but visible on all colors.
- Reflectiveness: Surroundings reflect in the paint more sharply. You'll see crisp reflections of lights and objects rather than soft, blurry ones.
- Water behavior: The first rain or rinse shows the difference immediately. Water beads into tight spheres and sheets off the surface — it doesn't spread and sit.
- Smoothness: Running a finger across the paint feels completely different from uncoated paint. It's noticeably slick, almost like the surface has been polished with oil.
- Defect elimination: Swirl marks and the marring from the previous year of washing are gone. In direct sunlight, the paint shows clean reflections rather than the spider-web scratch patterns that were there before.
The coating amplifies whatever paint condition it goes on top of. On corrected paint, this means dramatically better results. On uncorrected paint, it means permanently sealing in swirl marks and defects under a gloss layer. This is why we don't skip the prep — it determines what the coating actually achieves.
What Doesn't Change
Be honest with yourself about what ceramic coating can't do:
- It cannot fix deep scratches that have cut through the clear coat into the base coat or primer
- It cannot fix rock chips — for chip protection, PPF is the right product
- It cannot fix paint chips or peeling clear coat — those need respray
- It doesn't make the vehicle bulletproof — ceramic has a 9H hardness rating, which resists marring and light scratches, but hard impacts, sharp objects, and careless washing can still scratch it
How Long the Results Last
With our CarPro ceramic coating applied at the Elite 10-Year tier, the hydrophobic properties and gloss amplification last for the duration of the coating's life — maintained through proper washing and annual SiO₂ topper application. You're not waxing twice a year to maintain the look. The coating is doing the work.
See the Transformation on Your Vehicle
Call (806) 855-8042 or get a quote online. We'll assess your paint and tell you exactly what the process will achieve.
Keep That After-Look Every Month.
Monthly maintenance plans with pH-safe washes and SiO₂ toppers. Priority scheduling, locked-in rate. No contracts.